Super Cheap Meshtastic Solar Node
from It's Jeff
First things first: I'm standing on the shoulders of giants with this. It wasn't my idea, I'm just documenting my build following the excellent guide from BuffaLoRa.
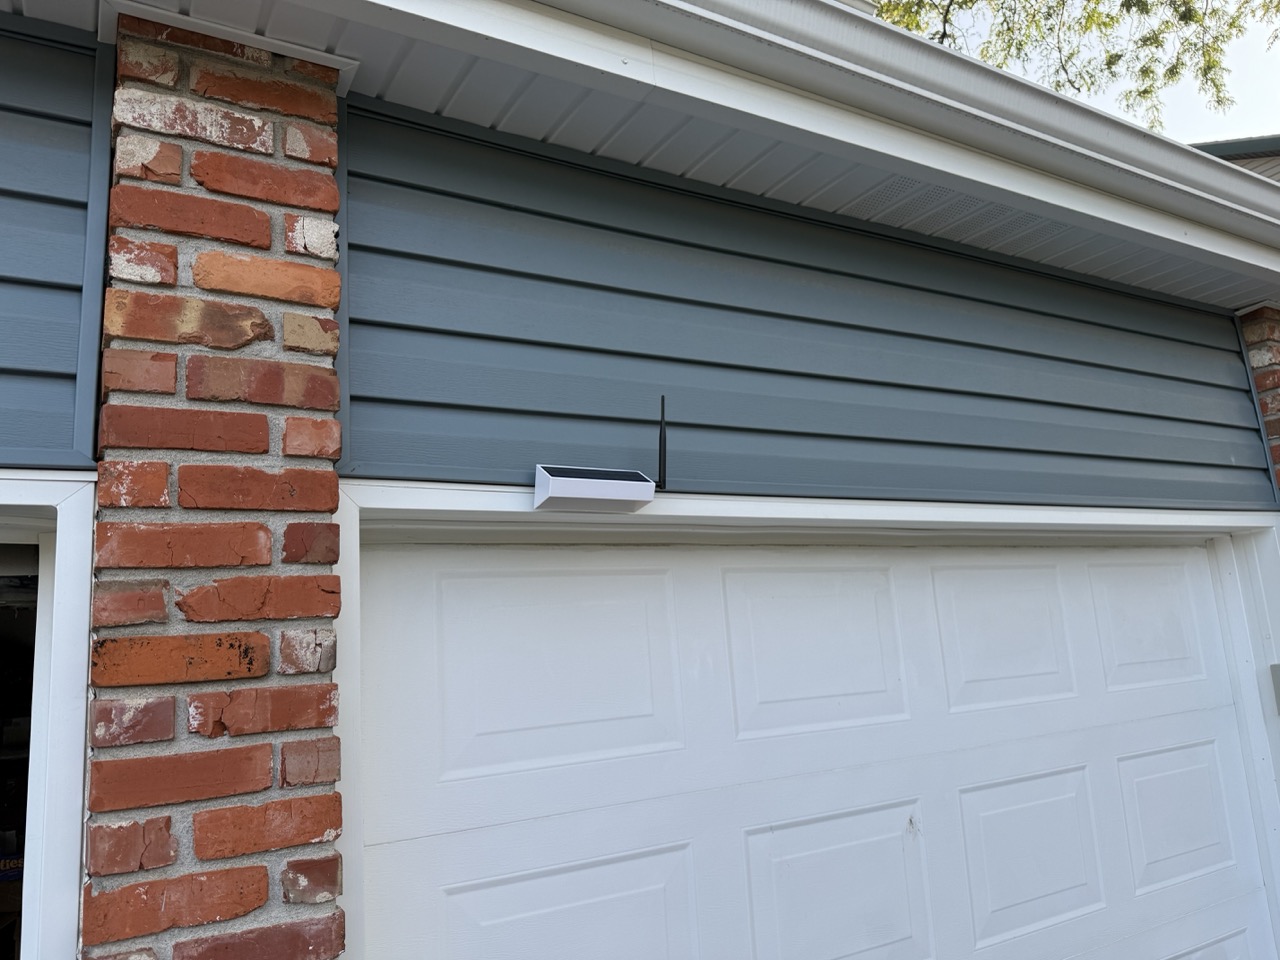
Hanging on the siding while I test charging and stability
Parts List:
Flash your radio and set it up
Go ahead and flash your radio before you really dive in. (Make sure you leave the crappy little antenna it comes with connected so you don't fry the radio.)
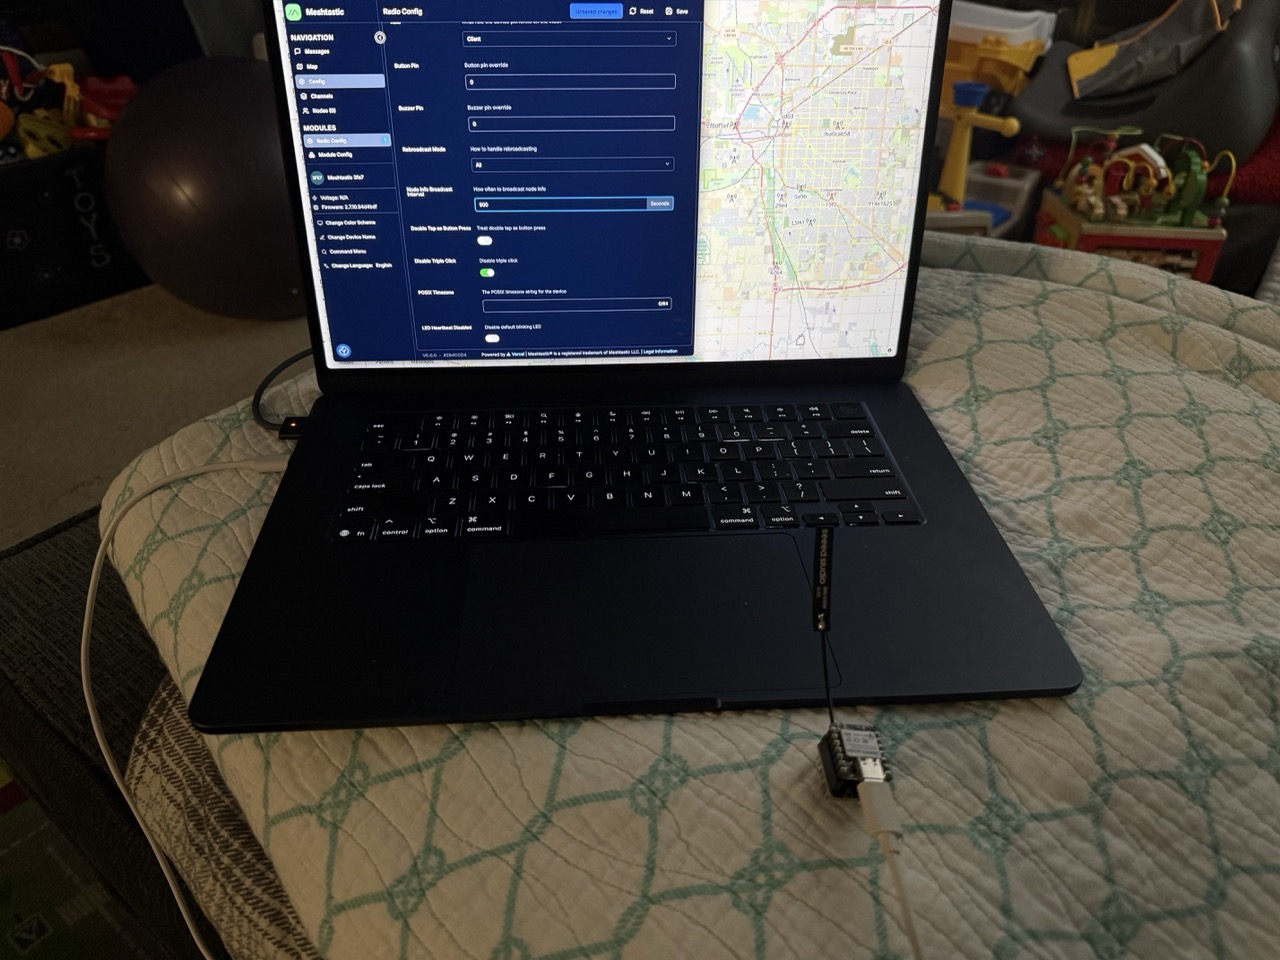
I went ahead and configured everything about my node at this step so I could move quickly to testing and hanging it up once the build was done.
Let's build this thing...
Tip: Install the brackets right away so you don't forget like I did on my first build.
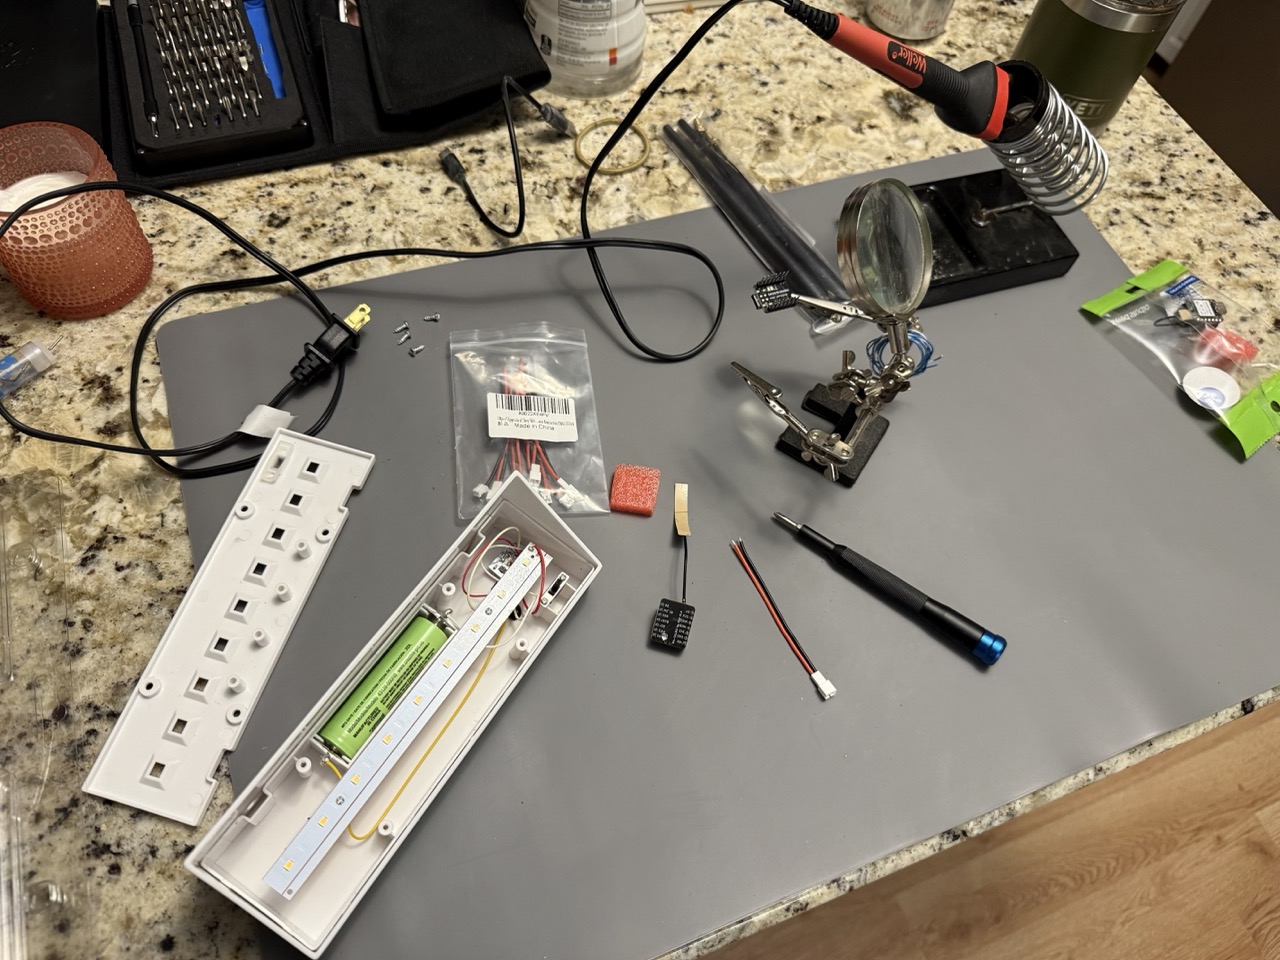
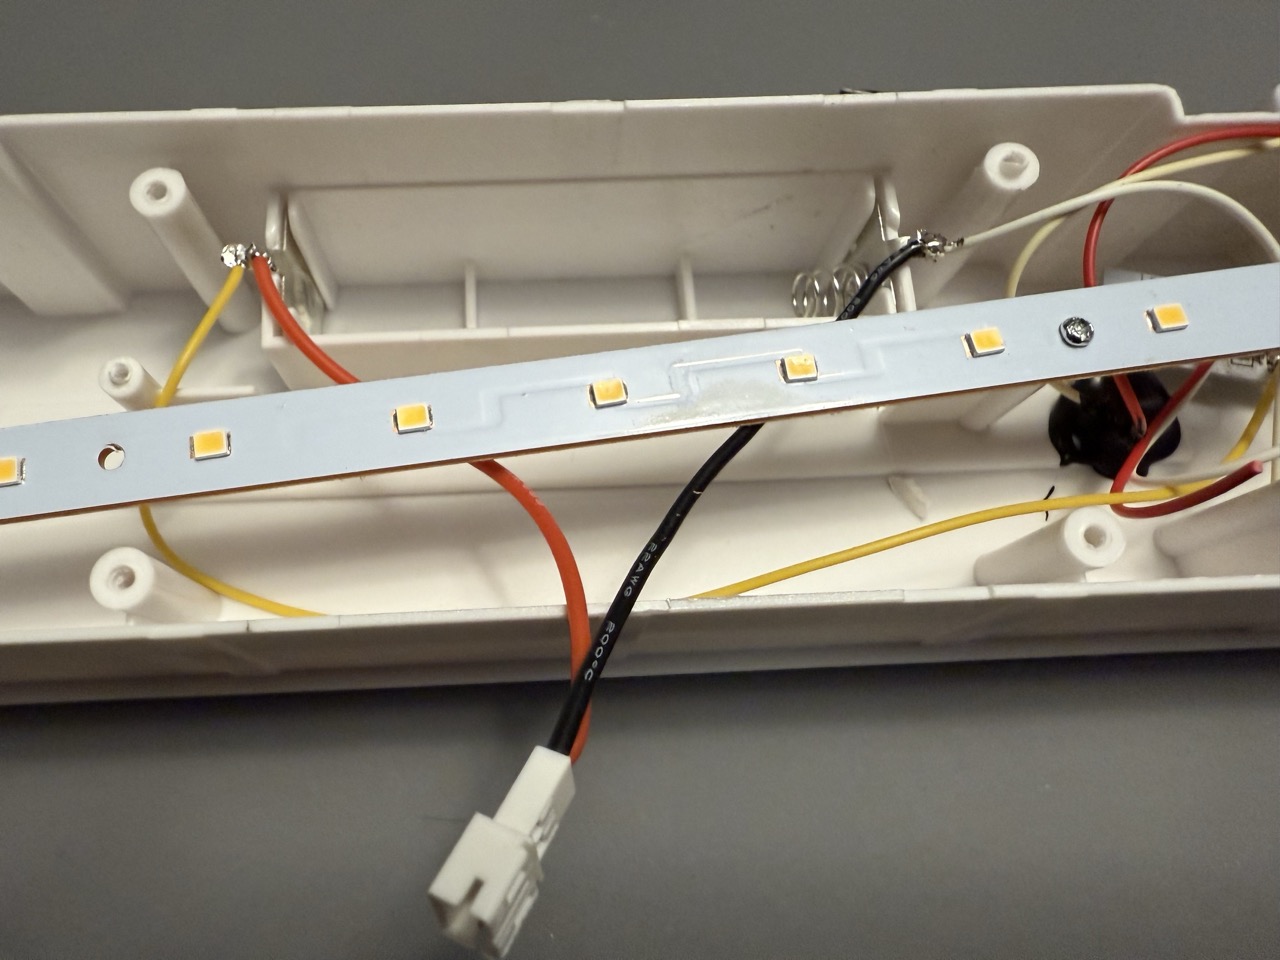
Make a note of which end is positive, (I know the negative end has a spring, etc, but belt and suspenders.) then take the battery out and set it aside.
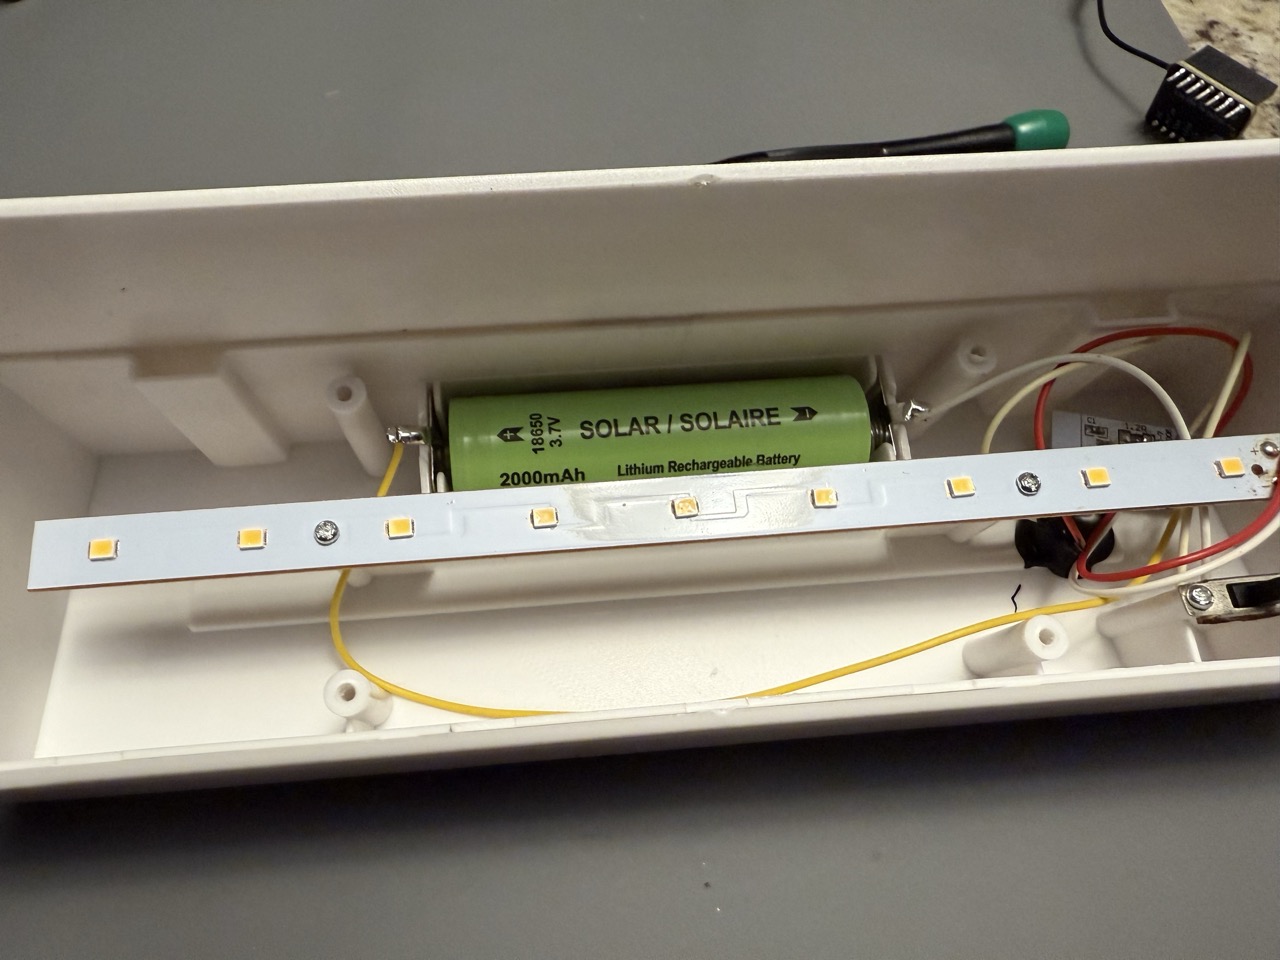
If you don't plan on using the lights, clip one of the leads going to them. I confirmed that the battery doesn't charge if you don't have the switch in the “ON” position, so if you don't want lights draining the battery overnight, or just lights in a weird place around your house, go ahead and snip that now.
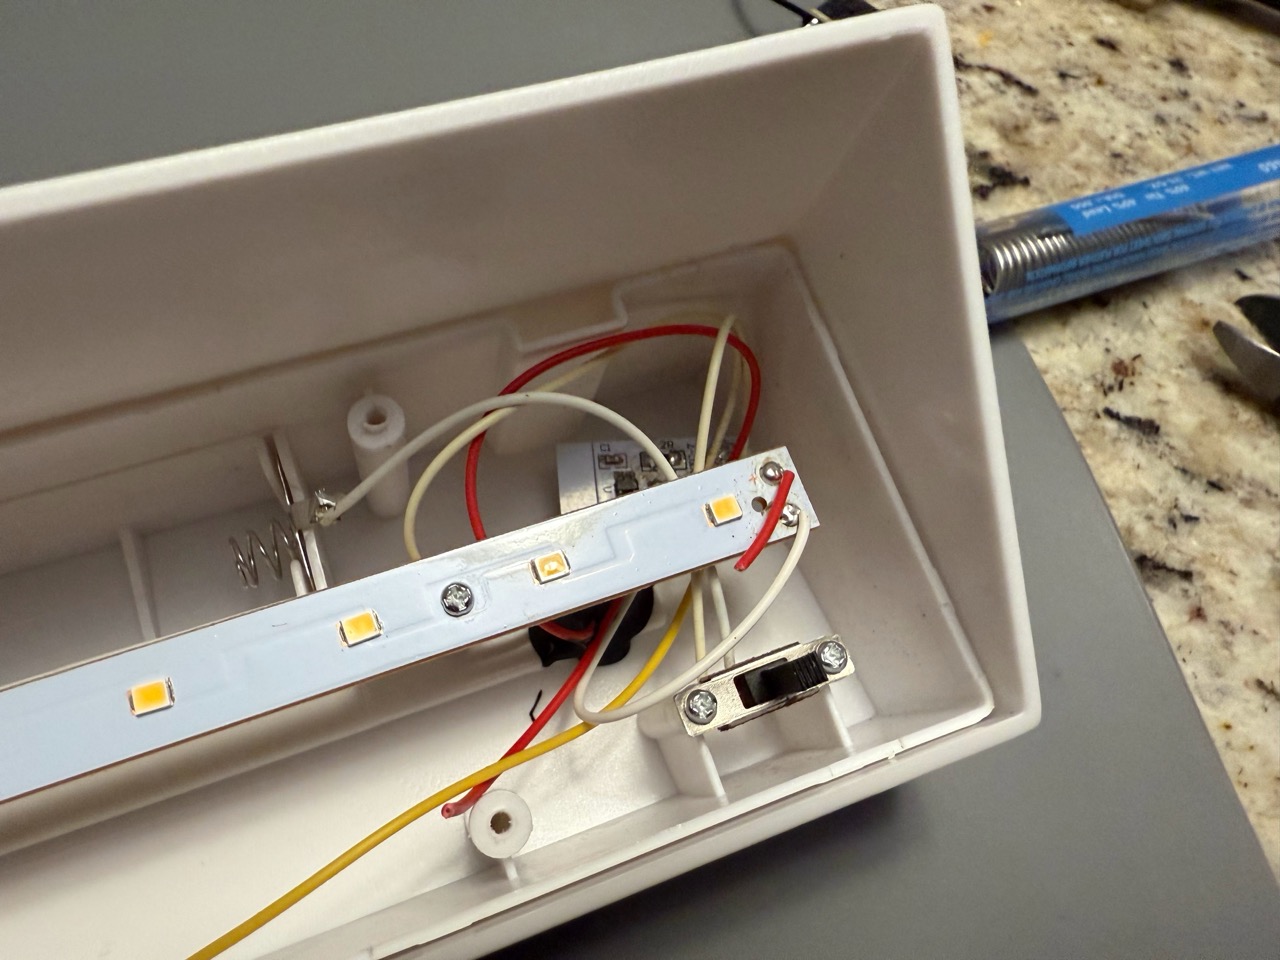
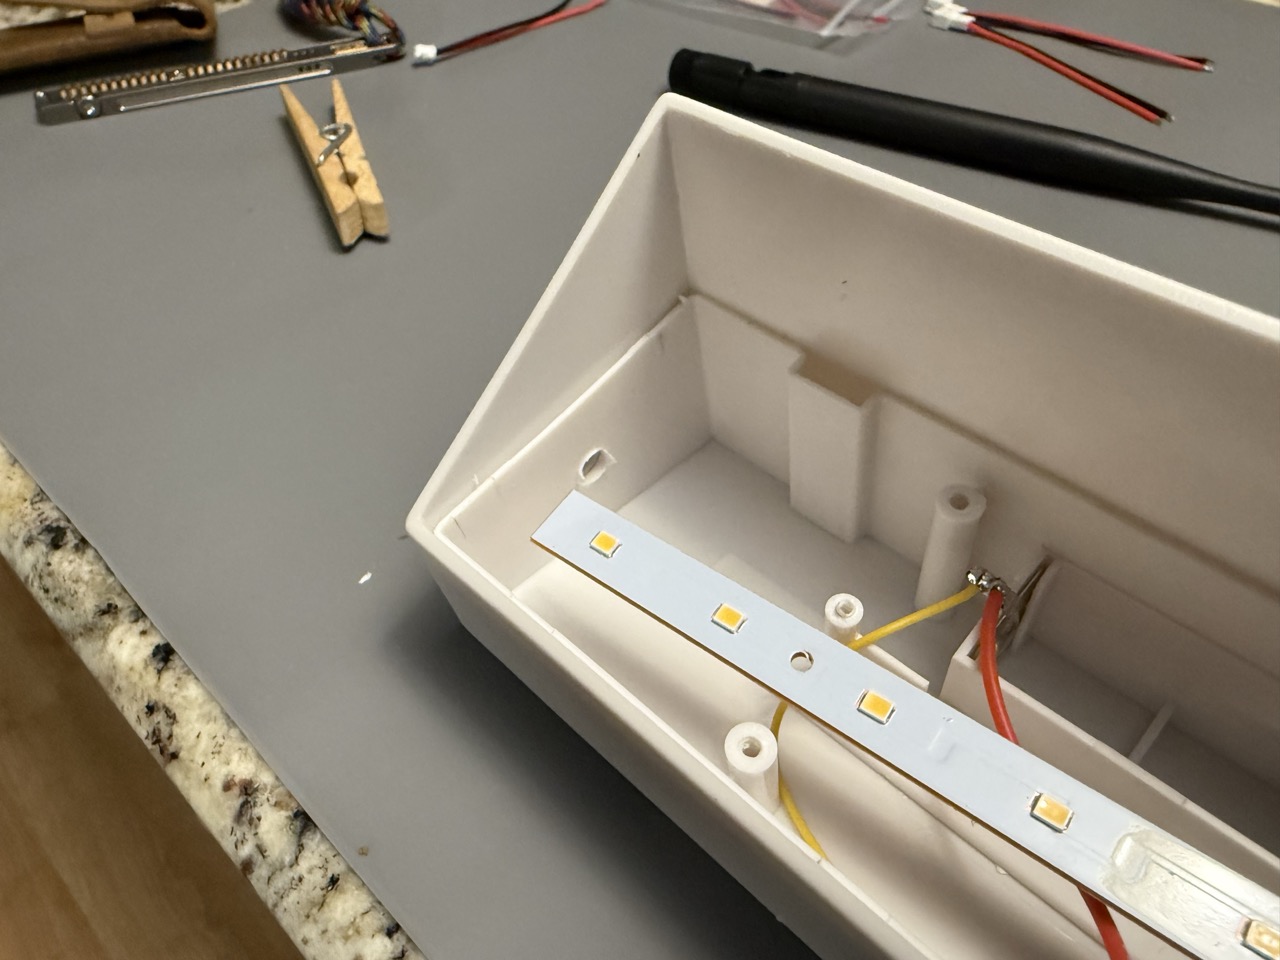
Solder the power leads to the battery contacts. My leads were already tinned, so I was able to just sit them on there and give it a boop with the soldering iron and they sunk right in.
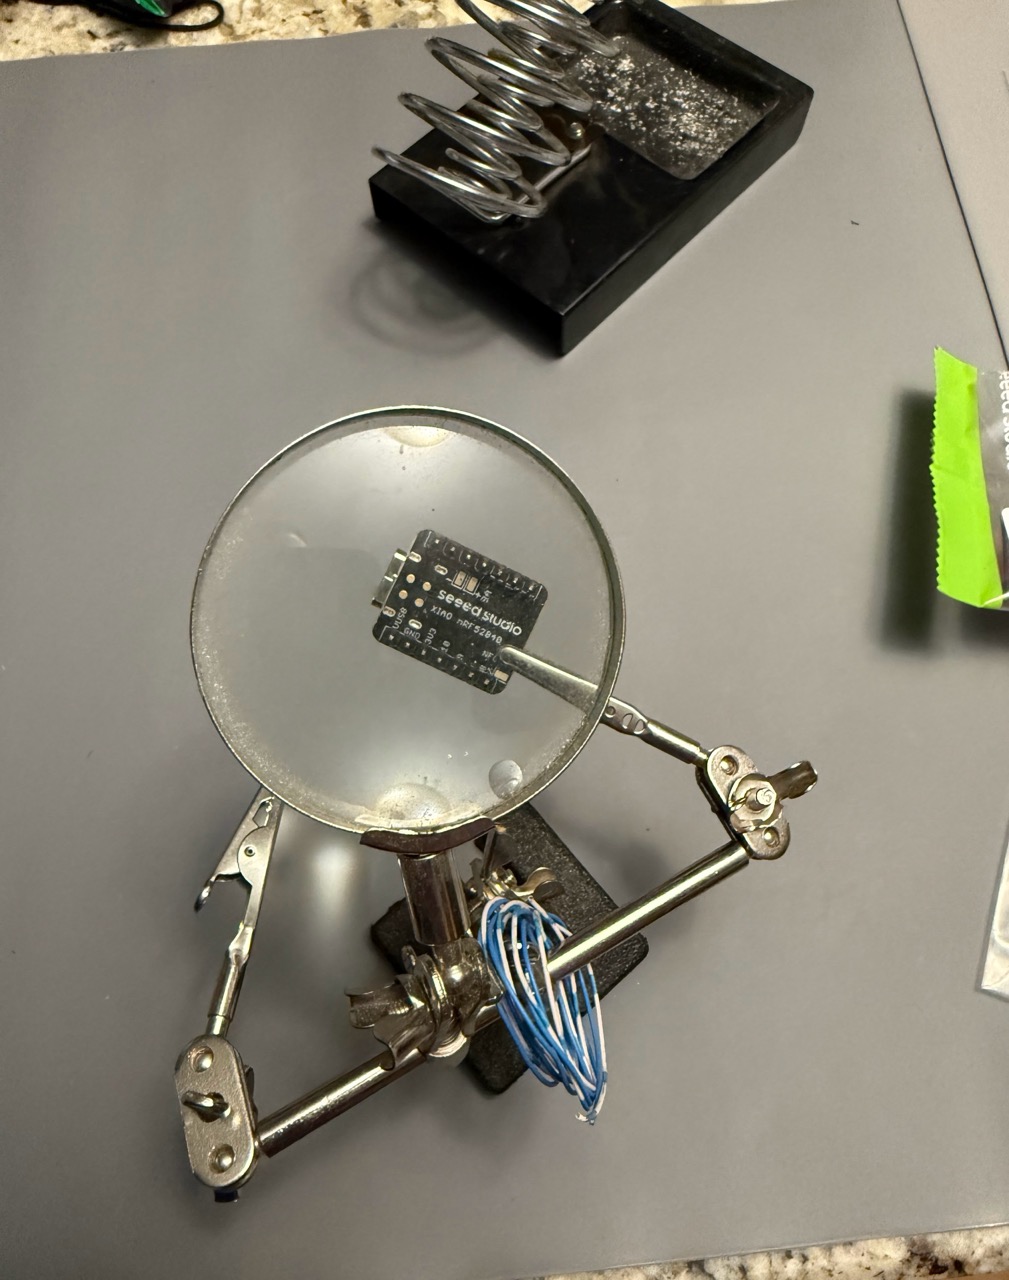
Separate the Xiao module from the Wio module.
Solder the connector to the battery leads of the Xiao module. This is teeny tiny, so if you have bad eyes and shaky hands like I do, take a deep breath and just try your best. On my first one, the tinned leads just stuck to the pads. On the second one, there was much wailing and gnashing of teeth, but I put a little solder on each pad and then was able to get the wires to stick. YMMV.
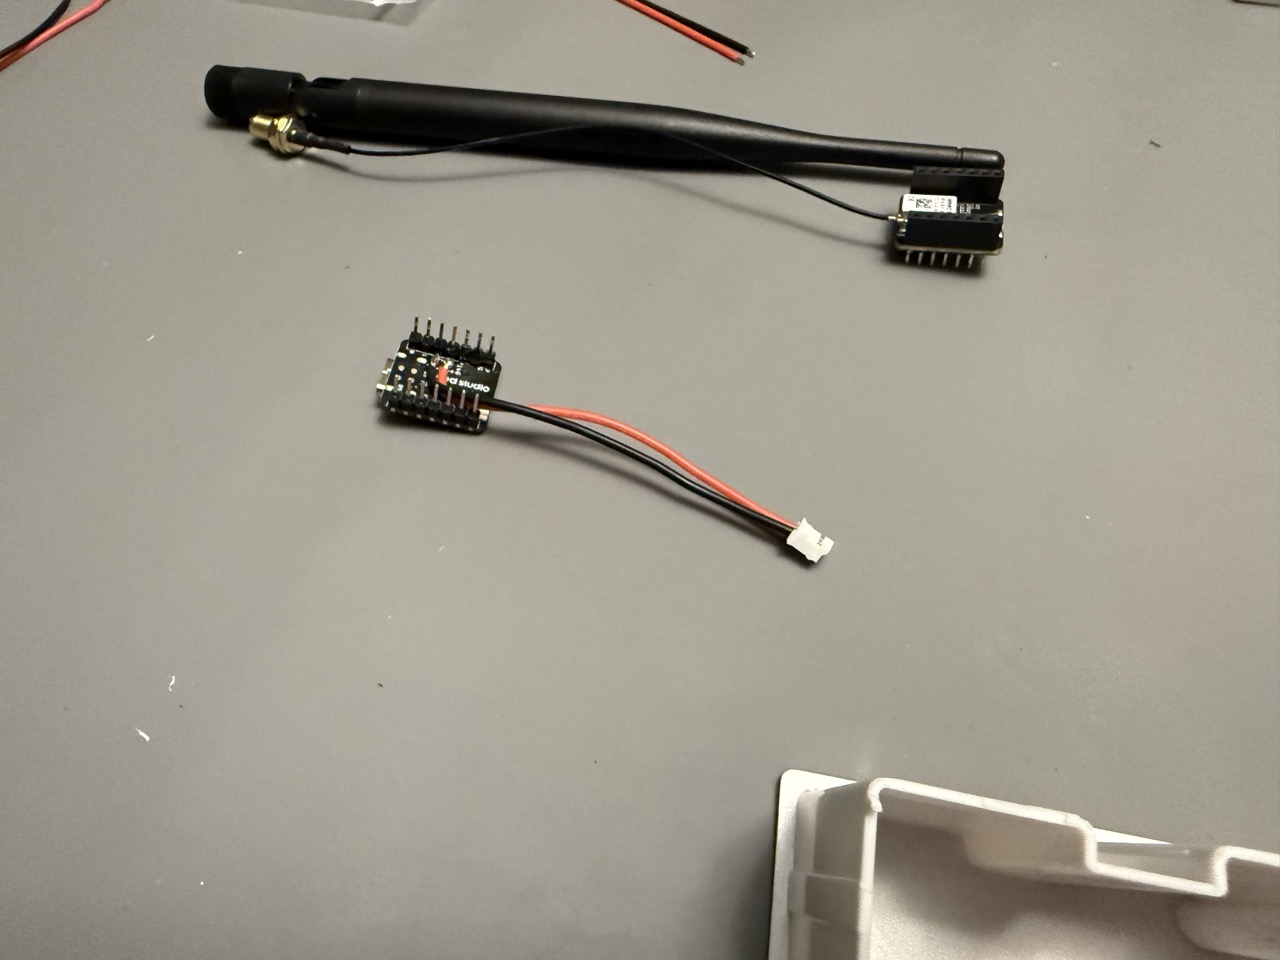
Once you have the wires soldered to the Xiao, you can connect the pigtail to the Wio and put them back together.
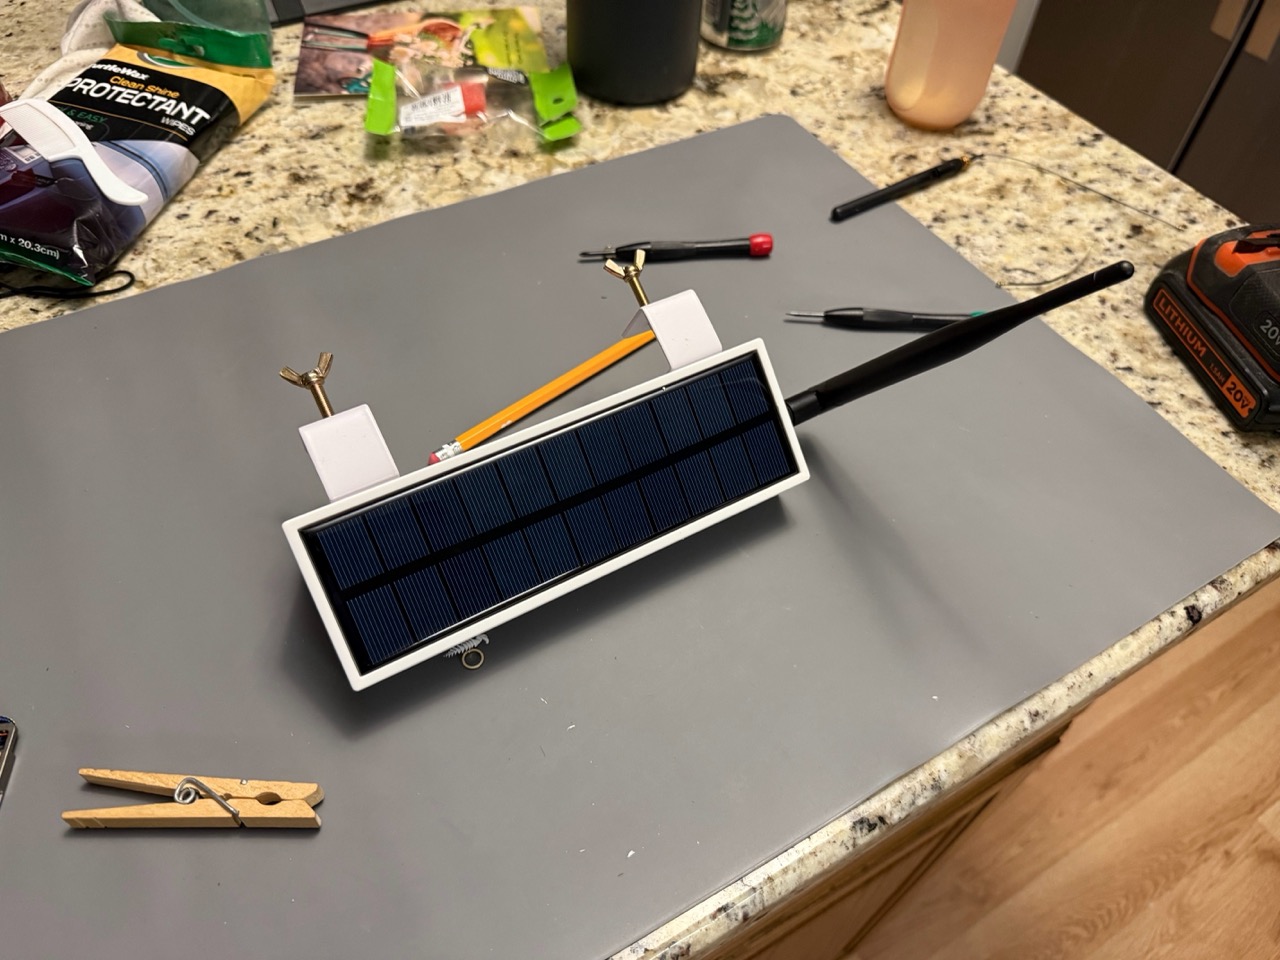
Now it's time to make a hole for your external antenna. I know that's optional, but it's what I did. I measured roughly to the middle, both ways. If your pigtails are long enough, you can put it on whichever end makes the most sense for you. (Note: It's a little crowded on the end with the charge controller.) Use a ¼” bit. (Probably double check that, but that's what worked for me.)
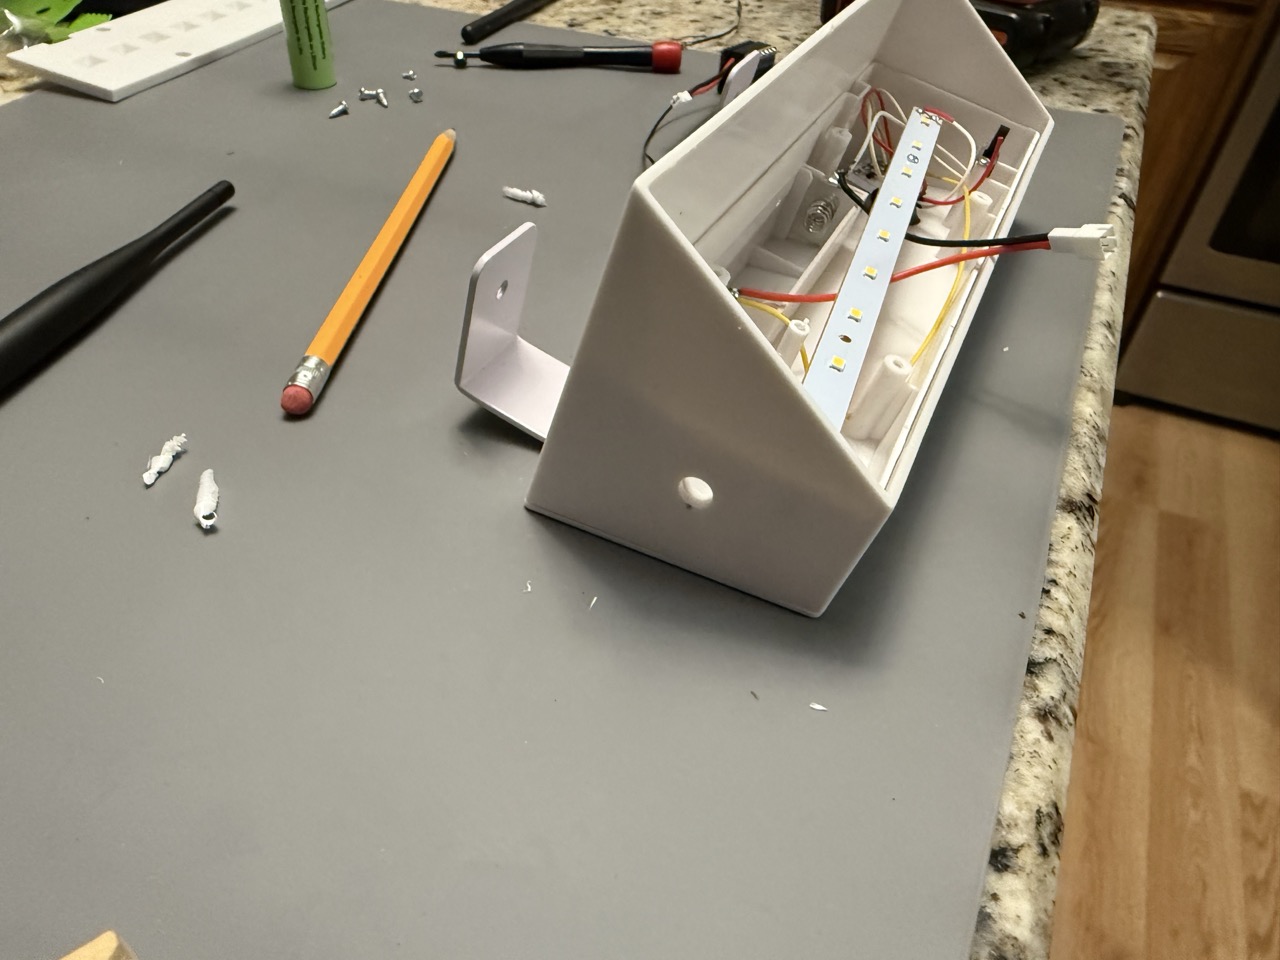
I had to trim around the hole with a razor on the inside because there was a considerable burr:
Put it all together. Connect the battery leads and install the antenna through the side.
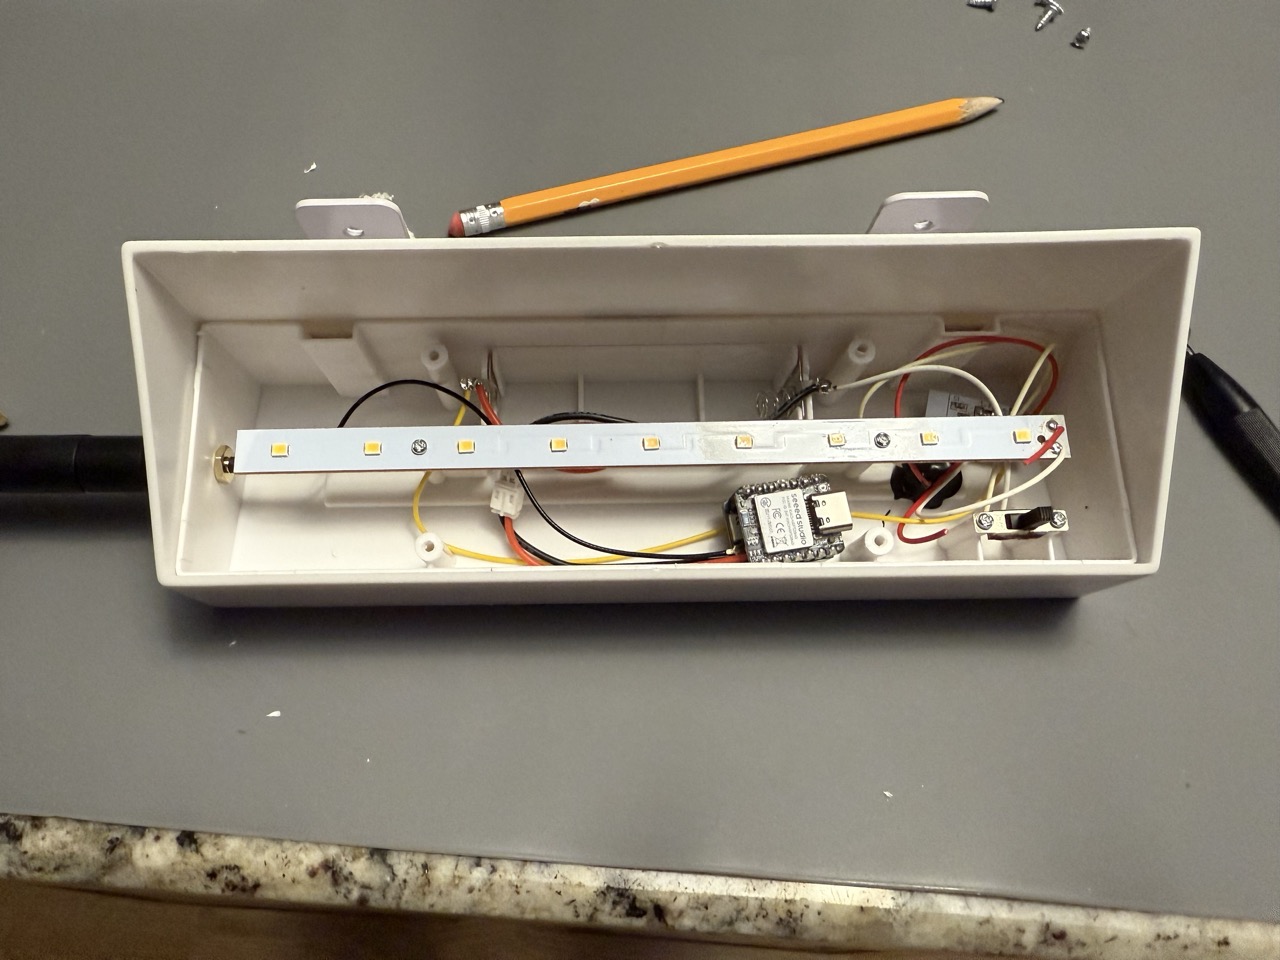
Pop the battery back in and make sure everything comes up.
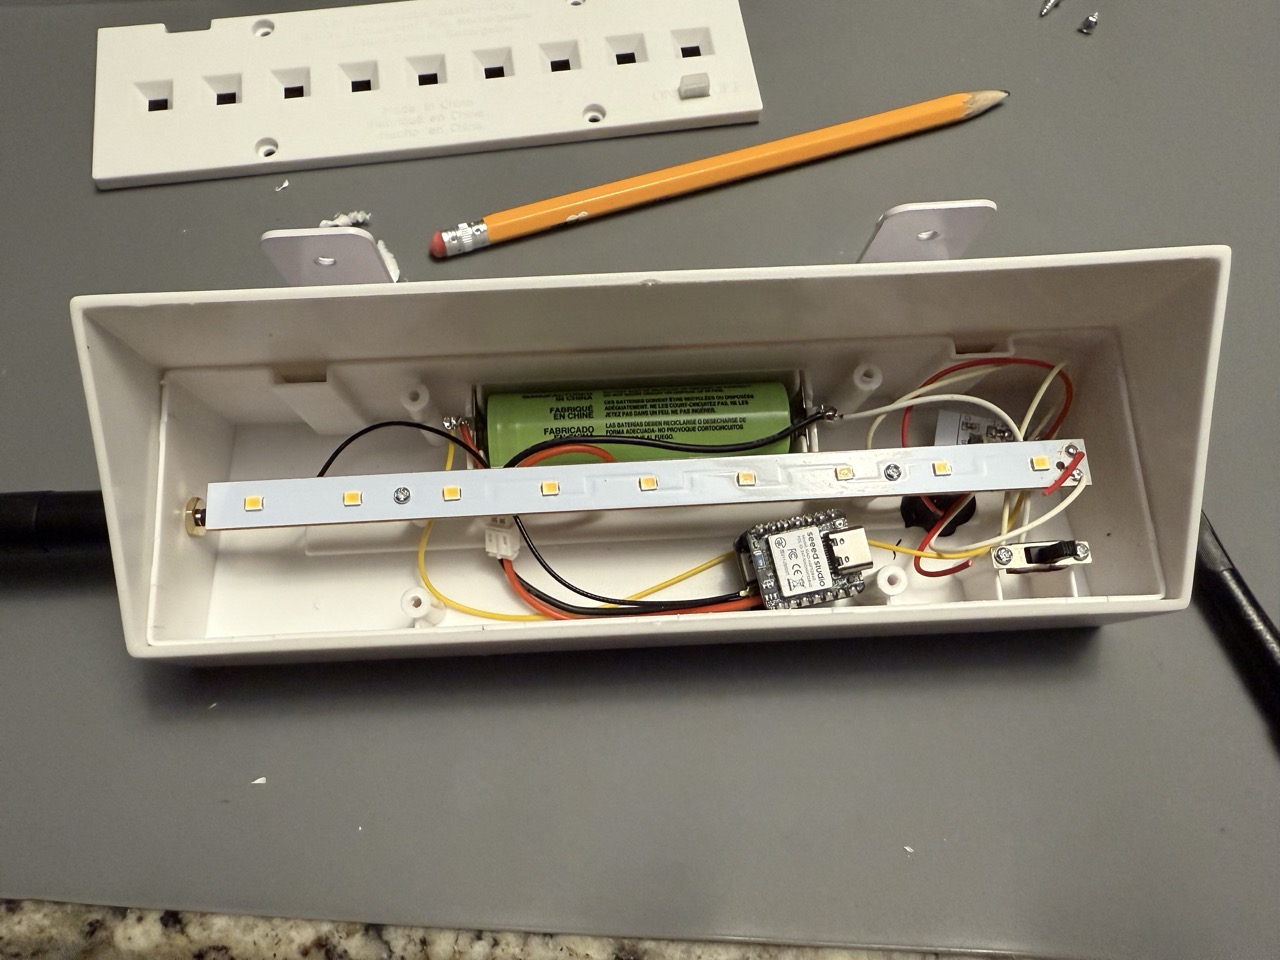
Install the light cover again and it's ready to go.
That's pretty much it. Good luck.